Thankful Tree: A Schmitt House Interpetation

I think the blogosphere pretty well covered this project last year, but the my house did not get around to it then. This year, however, I’m happy to report The Schmitt House has incorporated a new tradition into the month of November. A thankful tree!

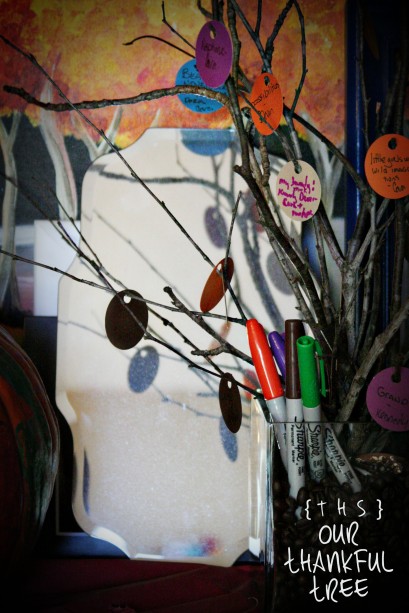
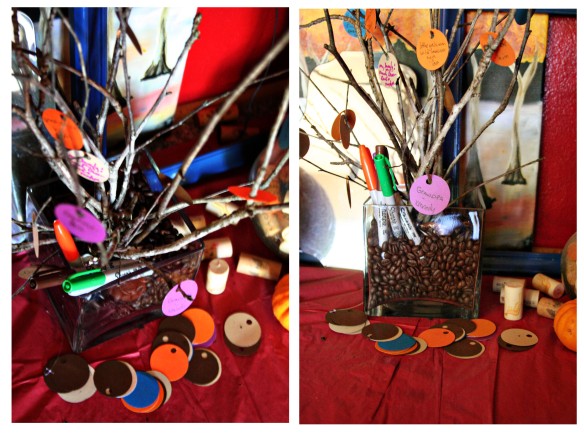
If you’ve never heard of a thankful tree, the premise is simple; You begin with a bare ‘tree’ and add ‘leaves’. On each leaf is a little note about what you (or whoever) is thankful for.

Every day, I force  everyone takes a minute and tries to think of one thing they are grateful for. No repeating allowed (my rule).It’s really cute to ask Kennedy what she’s thankful for, she started out with answers like “Tinkerbelle” and “Fruit snacks” but recently she’s shifted her responses to be more people-oriented, like “Papa.” It seems even the two-year-old is getting something out of our new tradition! By the way-, she has yet to say she is thankful for Mommy, but I didn’t really expect it, anyway. I’m have another twenty years before she feels any gratitude toward me.)

As for the construction, it was super easy. I went outside, gathered a bunch of sticks and tied one end together with a ribbon. Then I poured some coffee beans in a vase and stuck my stick bouquet in. For the leaves, I used a circle punch and a hole punch on some left over fall-ish colored card stock. Then I grabbed a bunch of sharpies (also fall-ish themed) and stuck them in the coffee beans too. Easy peasy.

I’m so proud of myself for doing this! Every year I say I’m going to go all out, and really make the house magical for the holidays. And every year it seems we barely get our tree up in time for Christmas Eve, much less set up a mantle, or hang mistletoe… Heck, we are lucky get the all Christmas presents wrapped in time! So this my friends is a new beginning for the holiday season!

It’s a great tradition! (I’ll be sad to see it go!) What holiday traditions have you started? Did you do a thankful tree? Or are there any traditions you’ve been meaning to start, but haven’t gotten around to it? Can you believe turkey day is only about a week away? Where did the time go?

Reader Vote: What looks best?

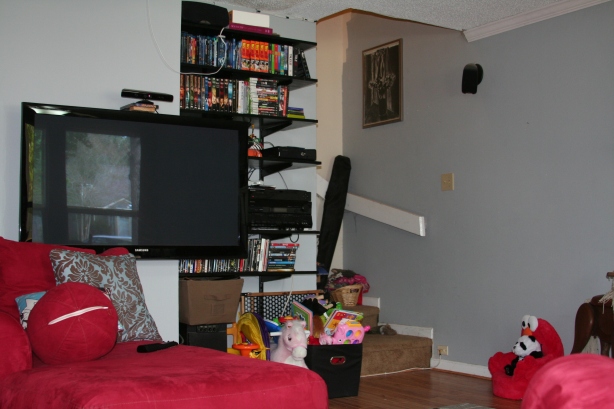
When this little blog started there was a corner of my living room that I am ashamed to say it looked this:

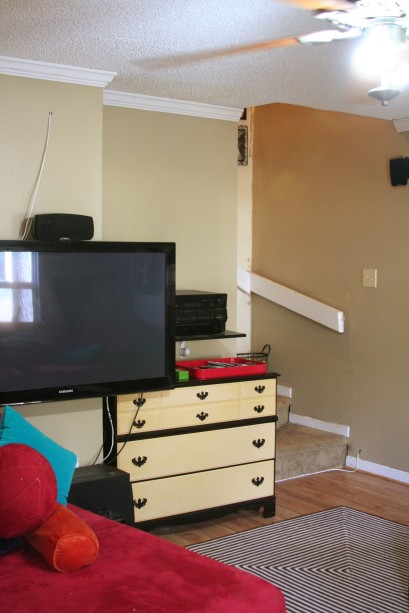
Now I am pleased to say it looks like this:

It’s not fabulous (yet!), but this little corner has definitely (finally!) graduated out of eyesore category. We’ve painted and paired down and cleaned up. We’ve also pulled some furniture switcheroos  (That dresser lived in our bedroom until last Saturday.)  It’s time to add a little pizzazz!. A little art to fill the space above the electronics. Nothing too flashy, after all, it can’t compete with the TV  or the new gallery on the staircase (will be posting about that soon!)

Another current. Full frontal this time.

Now here’s where I need your help. I’ve scoured the web for inspiration. And I’ve got a bunch of ideas. Problem is, I’m having trouble picking a direction. I played around in Photoshop to see what looks best. (Please excuse my mediocre Photoshop skills.) What do you think?

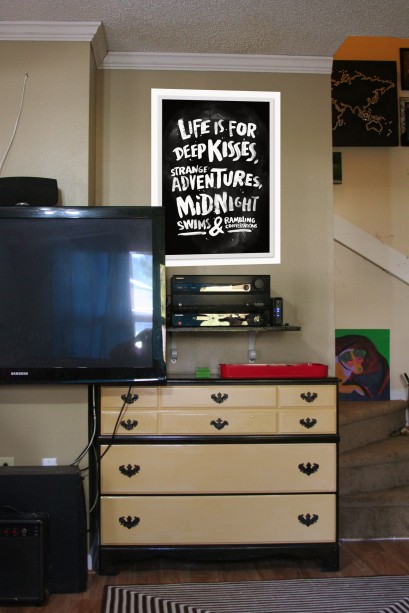
Option 1: Graphic Art

I love the idea of a pretty little message to remind me of the little things that are really important. This one comes from http://www.behance.net/gallery/MACHEETE-Posters/4664583

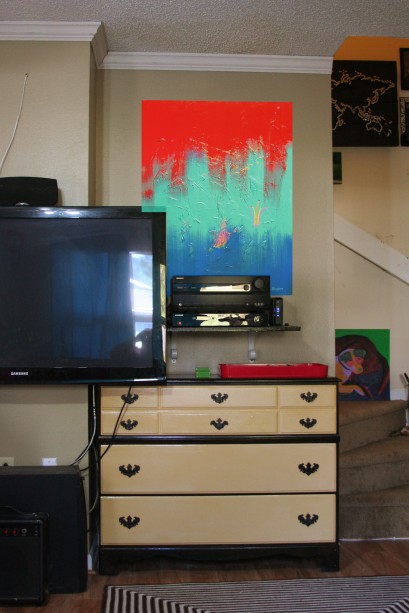
Option 2: Abstract Art

I’m not sure, but I think the abstract art might be my favorite. A pop of color. This brilliant piece was found at http://zacharybrown.wordpress.com/category/abstract-paintings/18-x-24/#

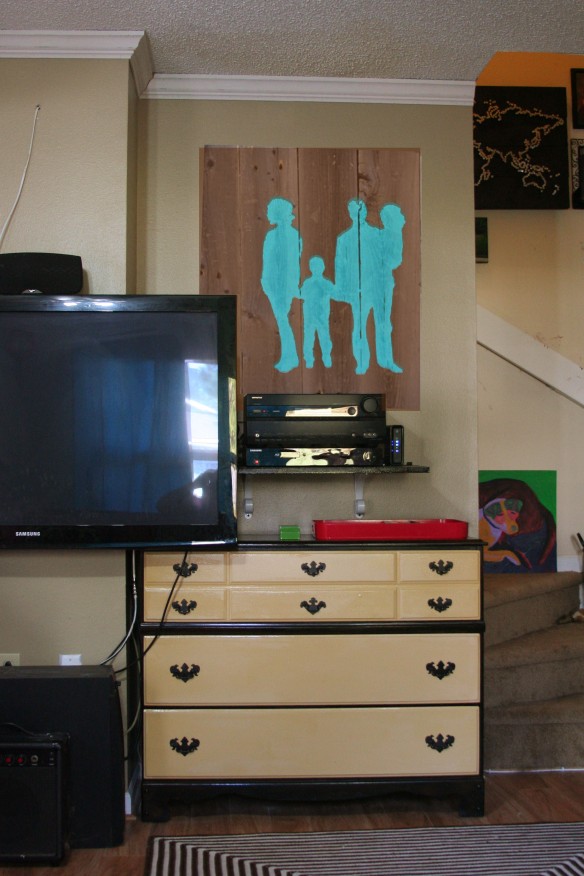
Option 3: Wood Poster

I like this option because of the amazing texture combined with the personalized silhouettes. This idea comes from http://www.infarrantlycreative.net/2012/03/pallet-art-silhouette.html, along with a tutorial!

So, tell me, which one, if any, makes your spine tingle?

Option 1: Graphic Art.

Option 2: Abstract Art

Option 3: Wood Poster

Feel free to offer any other suggestions too! And thanks for your help! I can’t wait to see the results!

We Love Beta-Carotene

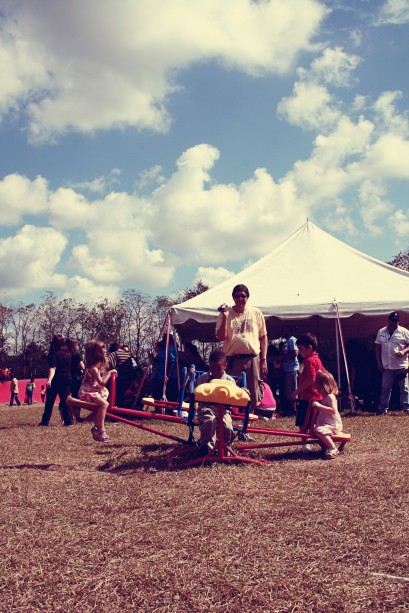
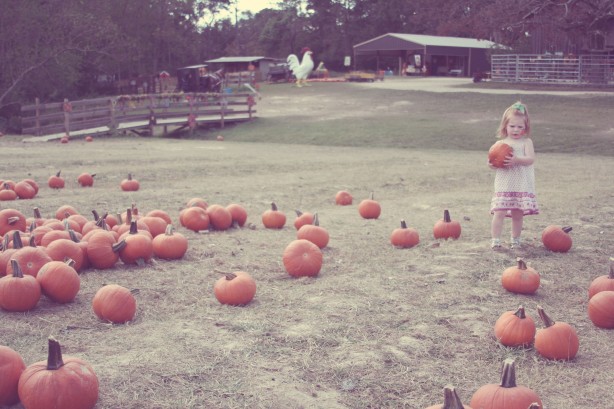
Beta-Carotene, it’s what makes pumpkins orange. And being orange is one of the greatest things about pumpkins. And, in my expert opinion, pumpkins are one of the greatest things about fall. I spend all year looking forward to the night we get to gussy up the most curvaceous member of the squash family all in the name of spookiness. So it was with this deep rooted reverence for pumpkins that we drove an hour out of town to find the seemingly only pumpkin patch in all Louisiana, Ms. Heather’s Pumpkin Patch.

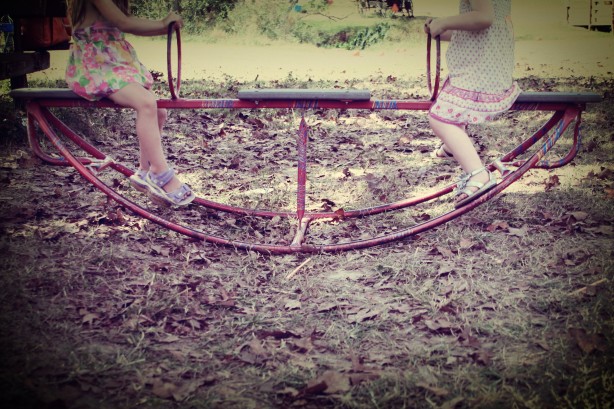
There were a ton of things to do but this toddler’s top picks were the old fashioned rides…. 

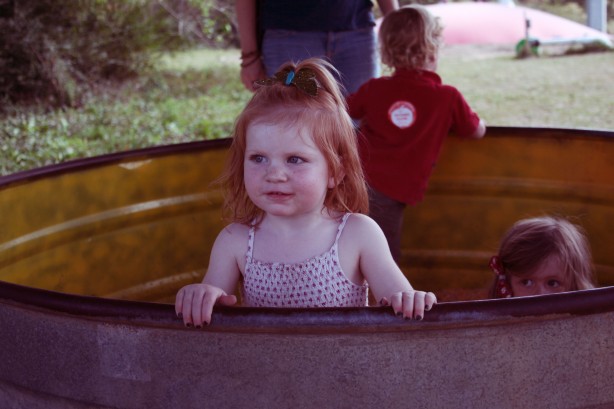
And, not to be forgotten, was the pit of corn….

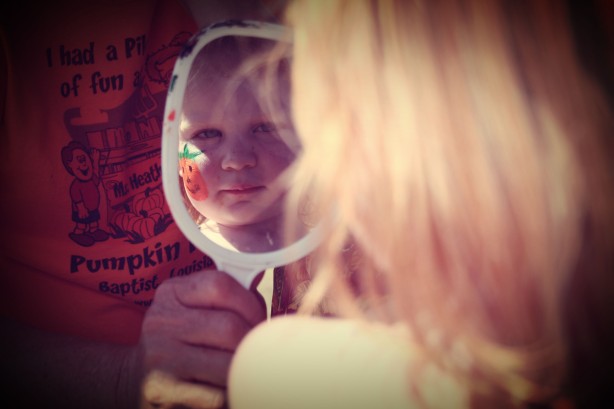
And face painting…

More rides…

But my favorite part came at the very end of our adventure, where one very tired little lady picked out a pumpkin of her very own.

Giddy Up, Let’s Ride!

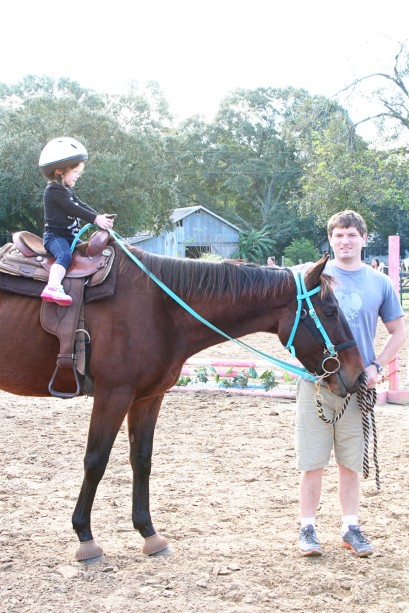
Anyone else read that story about a thousand times? ( It’s one of Kennedy’s favorites. We’ve read it so many times that she’s committed it to memory.) The book came to life last weekend when we celebrated Kennedy’s BFF’s 3rd birthday by riding horses. This was no pony ride at the fair either.

This is Ed. I’m pretty sure he was taller than me.

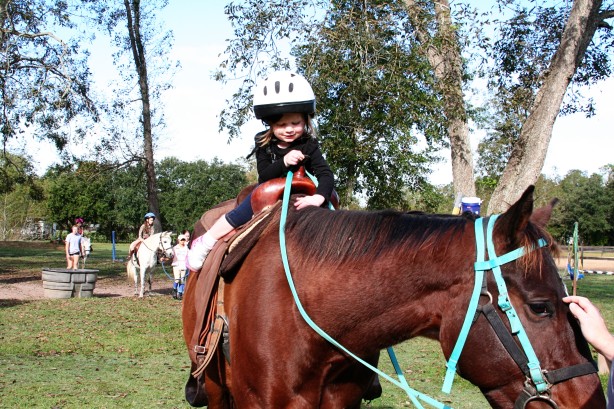
She, being the toddler, was a champ though. A total natural. She loved every second of it. She was totally calm and nonchalant, as if riding a 500 pound animal was a regular occurrence. I can’t wait to take lessons together when she gets older. I had a cousin and aunt who used to do that, and I was always insanely jealous. I’m totally stealing the idea with my offspring.:)

And this is Rosie. She was a gentle giant as well.

Although I would have preferred my munchkin stick a little closer to the ground, it was a great experience. I felt like time slowed down and we were able to enjoy being a family. And, of course, it was a blast when we got to hop on the horses ourselves too! It was pretty much the perfect way to spend a beautiful Sunday morning.

A Return to Blogging and Photography- Beach Style

My last post was May 22nd. That’s a whopping 5 month break. Does it even count as a break when it’s that long? I’ve thought about blogging almost every day, but I was sorely lacking in inspiration. That sounds awful- 5 months uninspired, and life has been anything but miserable, maybe inspiration is the wrong word. What I’ve sorely been lacking has been energy. Or maybe motivation? Time? Dedication? Take your pick. Whatever the reason, I’ve missed blogging, and all the things that come with it.

Along with blogging, I haven’t picked up my camera in months. For awhile I felt like I saw the world like I was looking through my viewfinder…. It was like life was just one frame after another, all waiting to be captured with my Canon. That feeling suddenly dried up, just holding my camera made me feel creatively, physically and mentally exhausted. Please tell me I’m not the only one who’s ever experienced this!

Any hoo- let’s cut to the chase, before I drone on for hours and hours- I am back! I’ve been waiting for the perfect post topic- and here it is…. Our first ever family vacation! Fun in the sun, along with a few sunset lit walks on the beach was just what I needed! I was a little rusty, but I took over 300 photos during our week at the beach (I won’t show them all… I promise.) I’m also happy to report that my camera has stayed close since our return to reality!

Enough talk, allow me to share a bit of our week in the paradise (better known as Pensacola)!

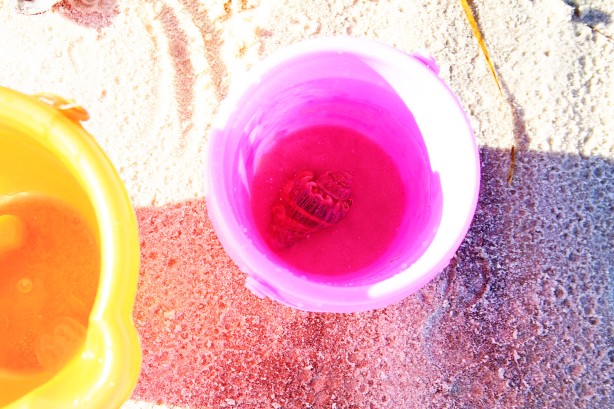
Our first day out- My little one wasn’t so sure of the waves. So we played in the sand.

The ten zillion ducks around our condo complex… however… huge hit.

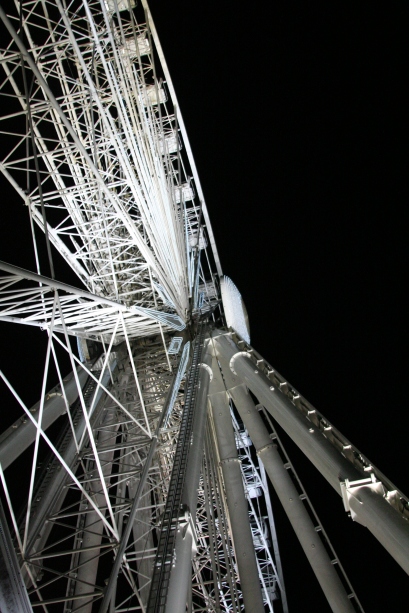
Also a huge hit was the ferris wheel. Kennedy was nothing short of obsessed. Every time we saw it she would squeal in delight and shout “Hi ferris wheel!” If you ask her what she liked most about her vacation, she’d tell you the ferris wheel.

Her reaction when we got up close.

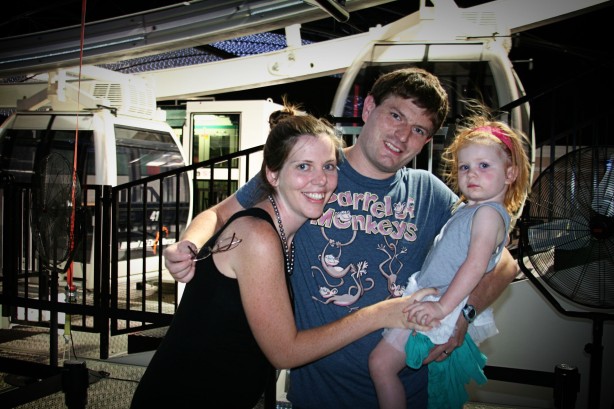
The 14-dollar-a-person ride was worth it though, cause we got a actual family photo!

Day 2 at the beach- she made friends.

We also made it to the National Aviation Museum.

We also went to Quiet Water Beach, on the bay side. These waves were toddler approved. So was the view of the ferris wheel.

We mostly ate meals at our condo, but we did splurge on large amounts of fried deliciousness at Peg Leg Pete’s and Flounder’s.

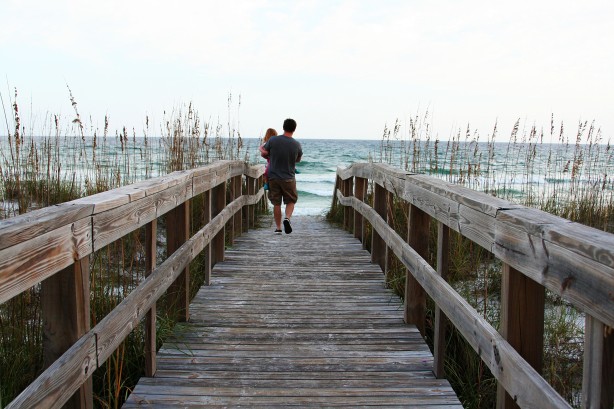
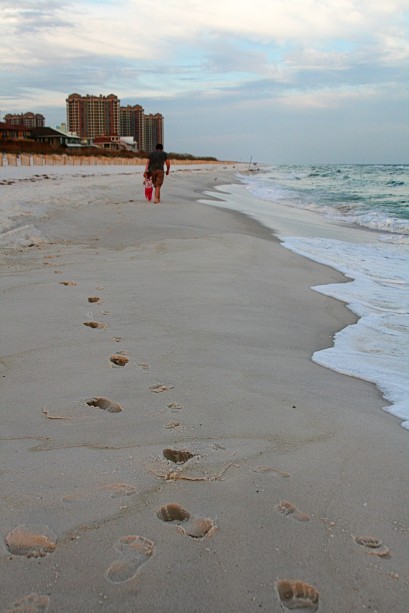
My favorite part… Sunset walks on the beach. The cool air, the ocean smell, the ever changing sky… Happiness couldn’t help but bubble up inside.

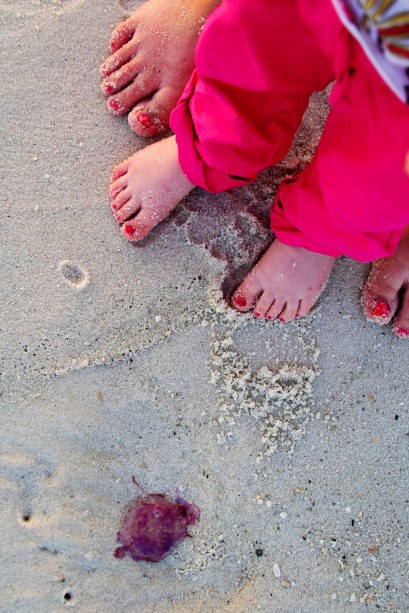
A jelly washed ashore. And matching toenails covered in sand.

Devin took the next three. Color me impressed… I think they are the three best of the whole trip.

We also made it to the Gulfarium.

And to Downtown Pensacola, where there was a brand new children’s museum.

And now we are home again. And I’m back to this blog and already looking forward to the next post!

Paper Mache Safari {My DIY Zebra Head}

I spotted this image a couple weeks ago.

And, instantly, I fell head over heels in love. It would be perfect for the munchkin’s room! It’s by Dwell Studios,. You can purchase it on their website. Unfortunately for me, they sell it for a whopping 76 buckeroos. Don’t get me wrong- I think that’s a fair price for such a delight, but I don’t have that kind of money budgeted to spend on faux taxidermy.  Despite the price, I couldn’t get this little guy out of my head. It has been forever since I’ve done anything so thoroughly creative, and the idea of attempting it myself was a little intimidating  But I got over it.

And here’s what I came up with….

Dum- de- dum-dum….

So what do you think? It’s far from perfect, but I think it’s awesome. So awesome, that I kind of want to make more, like a lot more, like a different animal for each room in the house. (Can you imagine a ducky head for the bathroom? Intense!)

But back to this one. Here’s how I did it:

Step 1. I formed a zebra-head-like shape from gridded wire and garden wire (both found in the garden section an Lowes). Some people preferred to use chicken wire. I choose to use the gridded wire partly because it is sturdier, but mostly because I already had it on hand. This step takes some serious patience. It took me about to weeks to form a zebra-head-like shape that I was mildly happy with. And make sure that you wear some heavy gloves, that wire is painfully sharp.

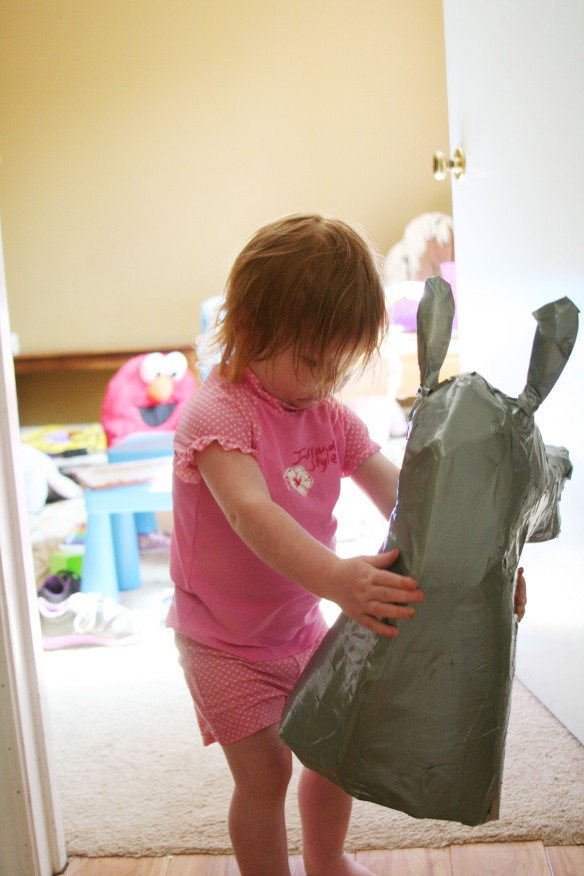
Step 2. Duct tape. This was mostly a safely precaution. I didn’t want those sharp wire ends to have a chance to cut my almost two year old’s hands. As for how much tape- I just kept layering until the whole thing felt smooth.

Step 3. Modge Podge and Newspaper. My muse was covered with French text. As hard as I looked, couldn’t find a foreign newspaper in anywhere in Baton Rouge. I even looked for foreign books at Goodwill. Nothing. So I had to settle with two copies of the USA Today. I cut them into strips and got to glueing. I used a foam brush to apply the glue. It was the first time I’d ever used Modge Podge. And I’ve jumped on that gravy train! Love it. I only wish I’d had more experience with it. If I ever decide to paper mache a giraffe head, I’ll definitely put of couple coats of Modge Podge on before applying paint. (I only applied one coat.)

Step 4. Paint. I used ‘Carnival Pink’ by Americana craft paint. (Although, if I ever do if again, I’ll probably use something thicker. The craft paint took 5 coats for good coverage)I tried to draw the stripes on with pencil, but it was a fail because I couldn’t see them. So I took my paint brush and winged it. I tried my best to create equal amounts of positive and negative amounts of space.

Step 5. More Modge Podge. As recommended on the bottle, I applied 5 coats, at 20 minute intervals, for a final finishing coat.

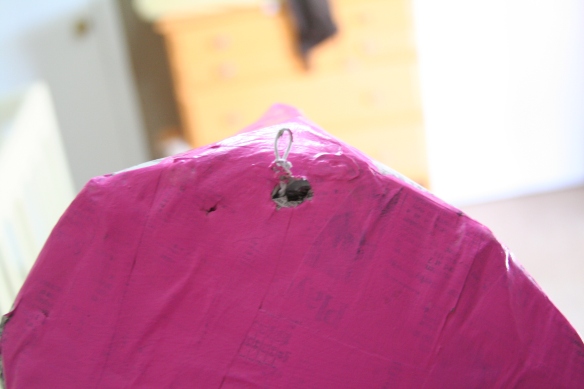
To hang it I punched a hole in the bottom. I took some wire and wrapped one end around the gridded wire on the inside and formed a loop with the other.

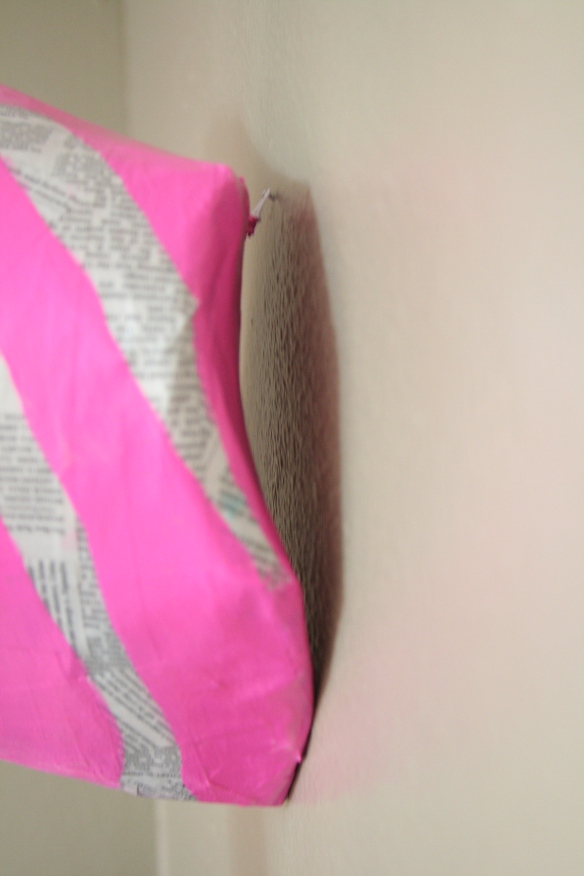
Then I hung it from a small nail.

Back to the eye candy…

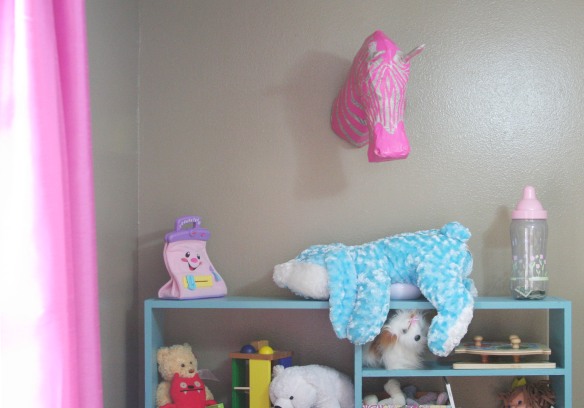
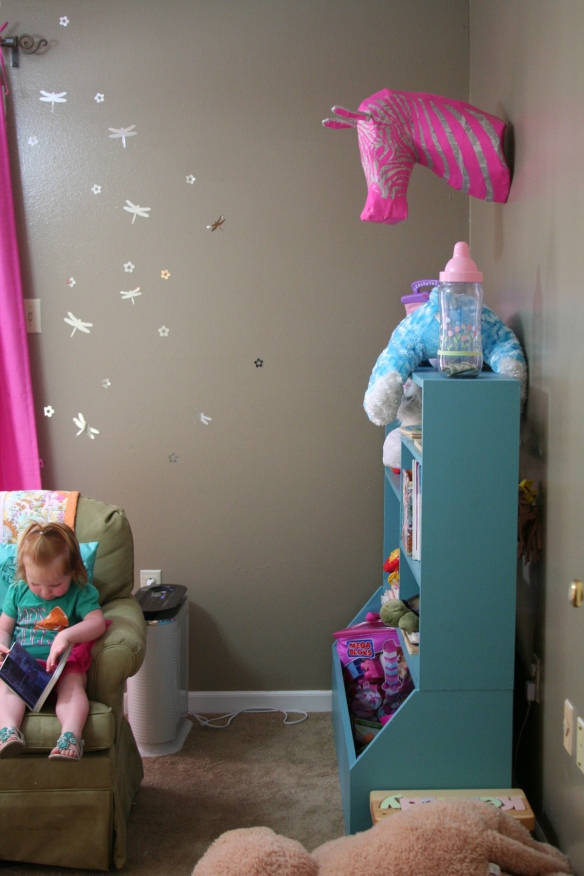
It’s like he’s watching over Kennedy as she plays.

And I swear, when we read in the rocking chair, it’s like the zebra is paying close attention. I’m not sure if it’s a creepy or charming accident.

So what about you? How do you feel about this whole paper mache animal head trend?Love it or hate it? Have you done anything crafty lately? Are you obsessed with any animal heads?

Unlimited Potential…

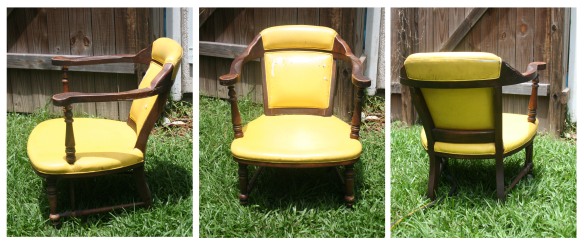
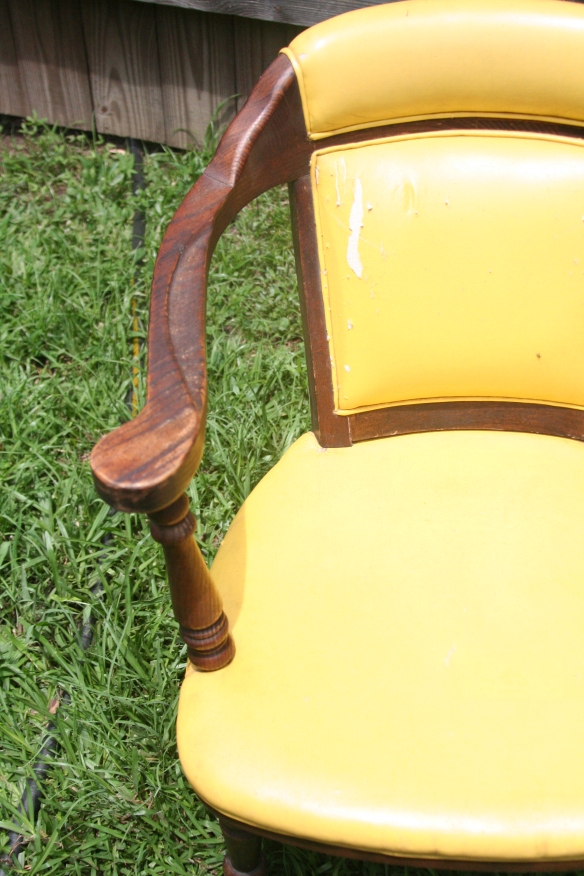
I’m pleased to say I made a thrift store big score the other day!

Feels very 70’s, no? Makes me want to put my hair up in a beehive and put on some go-go boots.

I’ll be the first to say it- this baby needs a lot of work. But it’s got great bones, and it was built to last. And for $9.99- it was a bargain too good to pass up! I’ve already begun tearing her apart. I can’t wait to see where this project goes.

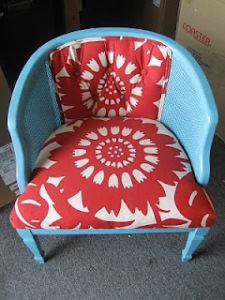
I’m not sure where it’ll end up- initially, I was thinking I’d paint her candy apple red and stick her by the fireplace in the living room. But I’m beginning to think she’ll fit nicely in the corner of our bedroom. I haven’t found the right fabric to reupholster with yet and that, in the end, will probably be the deciding factor.

In the meantime… here’s a little chair inspiration:

reupholstered chair tutorial from YHL blog @Sherry @ Young House Love---i was just gifted a long antique bench that has to be done in a very similar way as your chair...this tutorial came at the perfect time! #younghouselove #diyReupholstered chairred chairchair reupholsteredred chair

http://www.younghouselove.com/http://www.designsponge.com/2011/06/before-after-reupholstered-chair.htmlhttp://www.bowerpowerblog.com/http://darlingoctopus.wordpress.com/2011/08/03/make-me-pretty-a-victorian-chair-made-kid-friendly/http://www.findingfabulousblog.com/2011/07/chic-chair-revamp.htmlhttp://ohmigoshblog.blogspot.com/2010/06/my-red-and-turquoise-obsession.html

A Weekend in Birmingham

My cousin got married this weekend. Here’s a few highlights from our wedding weekend in Birmingham:

The Botanical Gardens.

Where I’m happy to say that we got the rare family photo…

Add, of course, the wedding and reception:

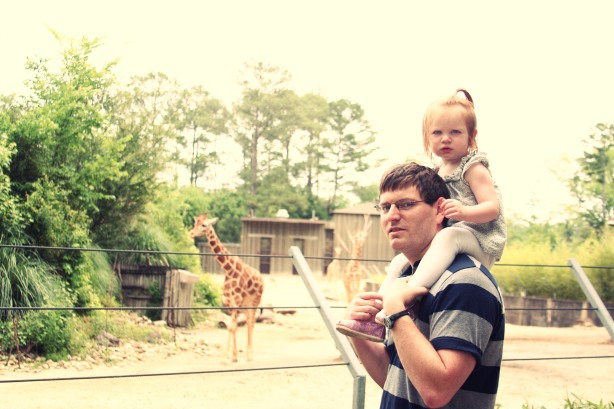
Followed by a quick trip to the Zoo (Yes, we are zoo lovers as you can see from here and here)

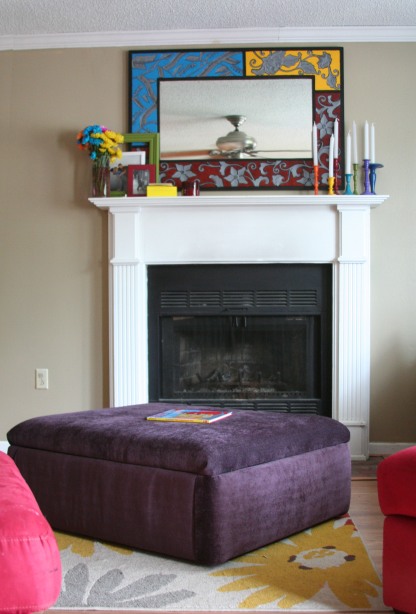
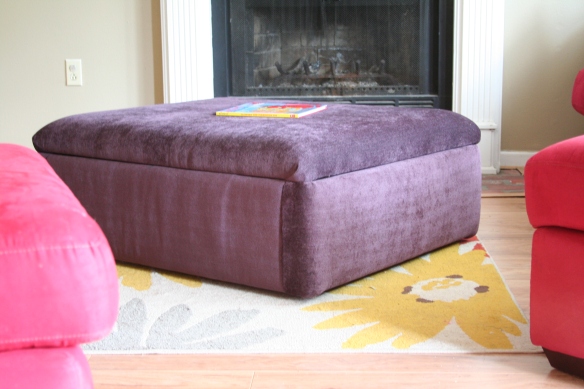
Huzzah!! I Built A Giant Purple Ottoman

I have been working on this project for ages(, I began my Ottoman scheming way back in January!)  I’ve sat down to write about it about a billion times, but either out of eagerness or frustration… the posts never got written. But now, finally, I’m relieved to say, it’s done! And I am so beyond happy to share it!

You may remember from this post that I was looking for a way to hide better way to store our DVD’s and electronic accessories. This mess was just not working for me.
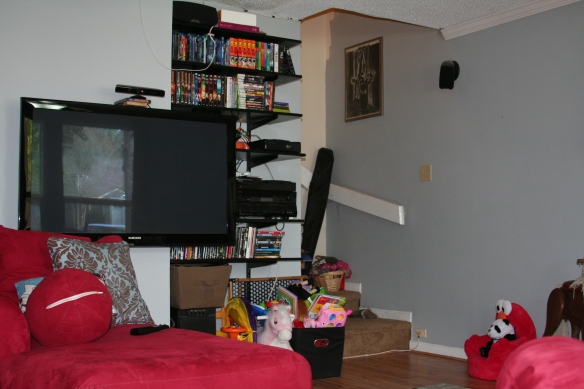
The ottoman seemed to be the best solution. It would store the clutter and, bonus, act as a much needed coffee table. But the ottoman couldn’t be just any ottoman, it had to be large enough to balance out our enormous couch and be durable enough to stand up to two dogs and a toddler. And be pretty.That seriously limited the options. Bring in the family-of-three-living-on-a-grad-student’s-salary budget factor and the options were virtually eliminated. Just as I was going back to square one, I stumbled across the old old bones of a kitchen cabinet (,we pulled it down when we first moved in,) collecting dust in the corner of the garage. I pulled it into the living room and.. perfection! It was like it was meant to be.
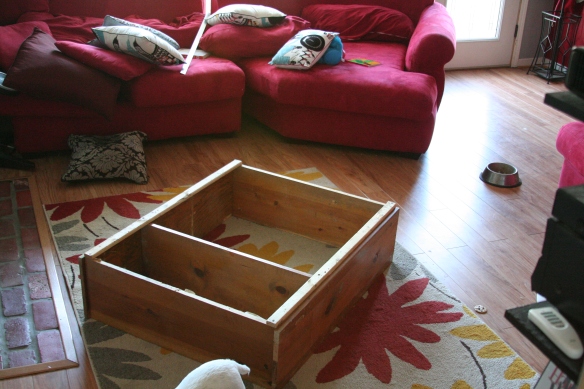
When Devin got home I proposed my plan to him. He told me that I needed to get my head checked. But, like a good husband, he pulled his tools  dutifully got to work when the weekend came. Eventually, it came transformed into this:
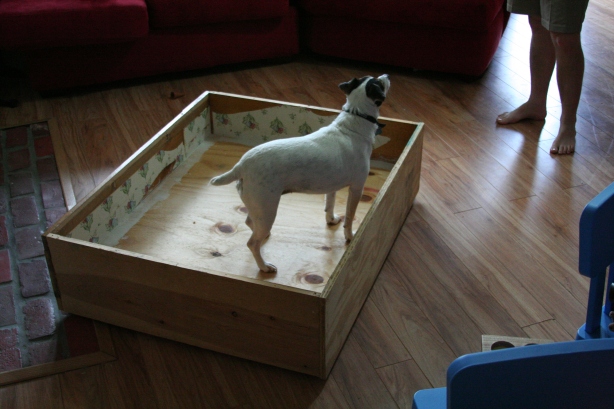
(I think the dog preferred it at this stage.)

Complete with wheels, two of which have locking mechanisms.

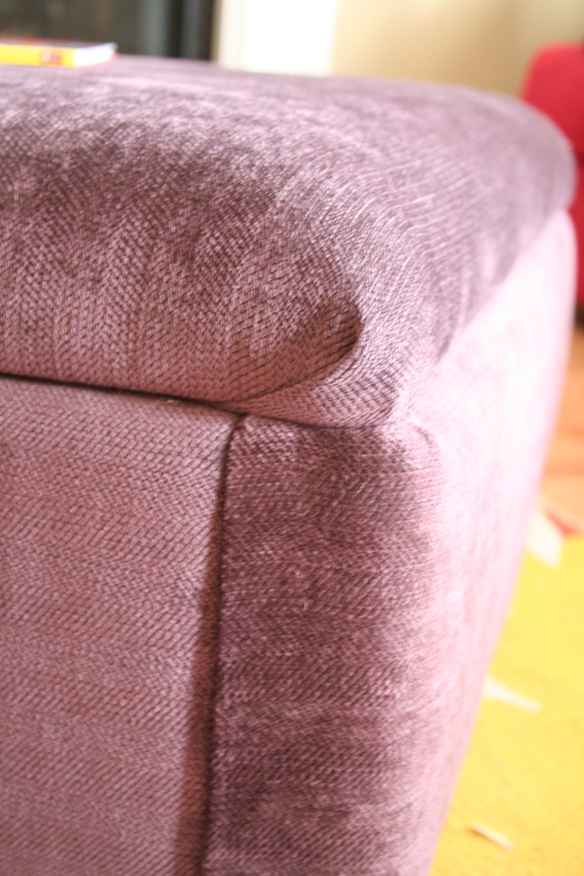
Then came a layer of half inch foam and two layers of half inch batting. This baby is plush! Then the fabric. For the top, I used three inch foam and two layer of half inch batting. This was my first upholstering project. It was daunting. I think I used over (no joke) 3,000 staples. I kind of wish I’d started with something more practical, like the seat of a chair. But that’s not my style. Go big or go home, right? It took a little while, but (after the first 1000 staples) I got the hang of it.

If you are looking into building your own ottoman, here’s a few links I found very helpful:

http://lessthanperfectlifeofbliss.blogspot.com/2011/10/diamond-tufted-ottoman-whew.html

http://www.soulstyle.ca/word/ladders-ottomans-oh-my

http://www.cheeseisgoodfood.com/2009/04/diy-ottoman.html

I also watched a ton of Youtube videos.

The top didn’t go as planned. I had my heart set on diamond tufting. It was too much for a novice like me. I think the problem started when the three inch foam didn’t properly adhere to the plywood (I used spray adhesive.) It made it impossible to properly measure and align things. Then I got frustrated. It only went downhill from there. Objects were thrown. There may or may not have been some shouting. By the time I gave up, the foam was pock marked with holes. It looked pretty hopeless. I should have taken a picture for you, but I was just too mad.

I thought about going out and buying a fresh piece of foam… but those things are expensive. Even with a coupon, the first one cost 40 big ones. At this point I wasn’t sure my dream ottoman would come to fruition, and I wasn’t will to invest any more in the project. So here’s my dirty little secret: I used the holey foam. And with two layers of batting and a layer of tightly pulled fabric, my secret is safe. The whole top feels perfectly even. No indication of my failure.

While we are on the subject of trials and tribulations…. It’s not over yet. Our first hinge attempt = total failure. I picked up a cheap piano hinge from Lowes. We spent two hours one Sunday night attaching it. When we stood back and surveyed our work, it was obvious that the top wasn’t completely square to the bottom. Devin suggest that we apply a little pressure and bend the metal (it was just a smidge!) I’m sure you can see were this is going. A little “pressure” bent the hinged and pulled the screws out from the ottoman top. So learn from our mistakes, (as obvious as they seems now,) and make sure your hinge is sturdy and your screws are long enough. Otherwise bad words get said and more objects get thrown.

But enough of the negative. Let’s look at some pretty ‘after’ pictures.
A close up of the ‘folding and tucking’
And with a little foot action:

The Munchkin loves her some giant purple ottoman too!
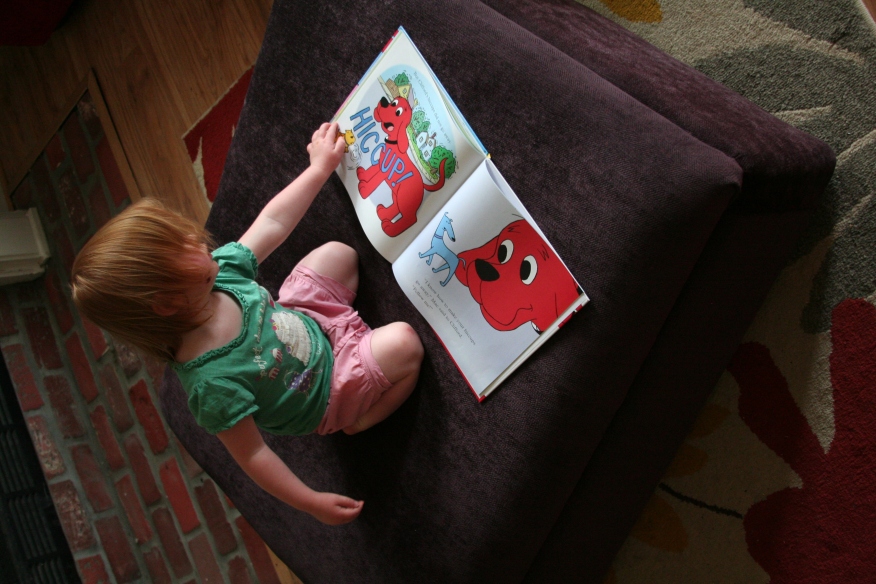
I don’t think I ever told you how actually big it is….somewhere around 38″x50″. Monstrous. Baby girl likes to spread out take naps on it. (By ‘naps’, I mean pretend naps… If only it were that easy…)
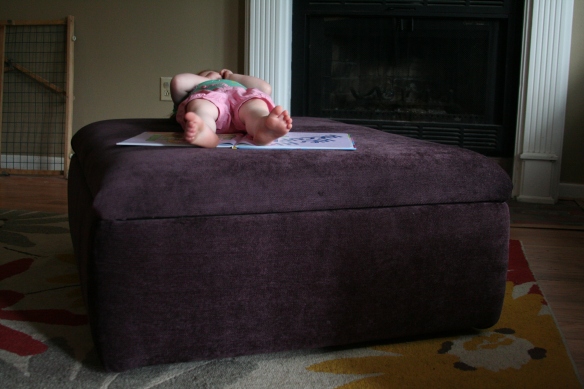
So that’s our Ottoman building adventure.

Truth be told… It’s not truly finished yet. The inside still needs some polishing. But, in the meantime, I am so excited to put down the staple gun and put my feet up. And I can’t wait to put those DVD’s inside. It’s going to be amazing.

So what about you? Have you tried any crazy DIY’s lately? Anyone else ever experience upholstering obstacles? Or used a crazy number of staples? Any one else having trouble finishing projects in a decent length of time?